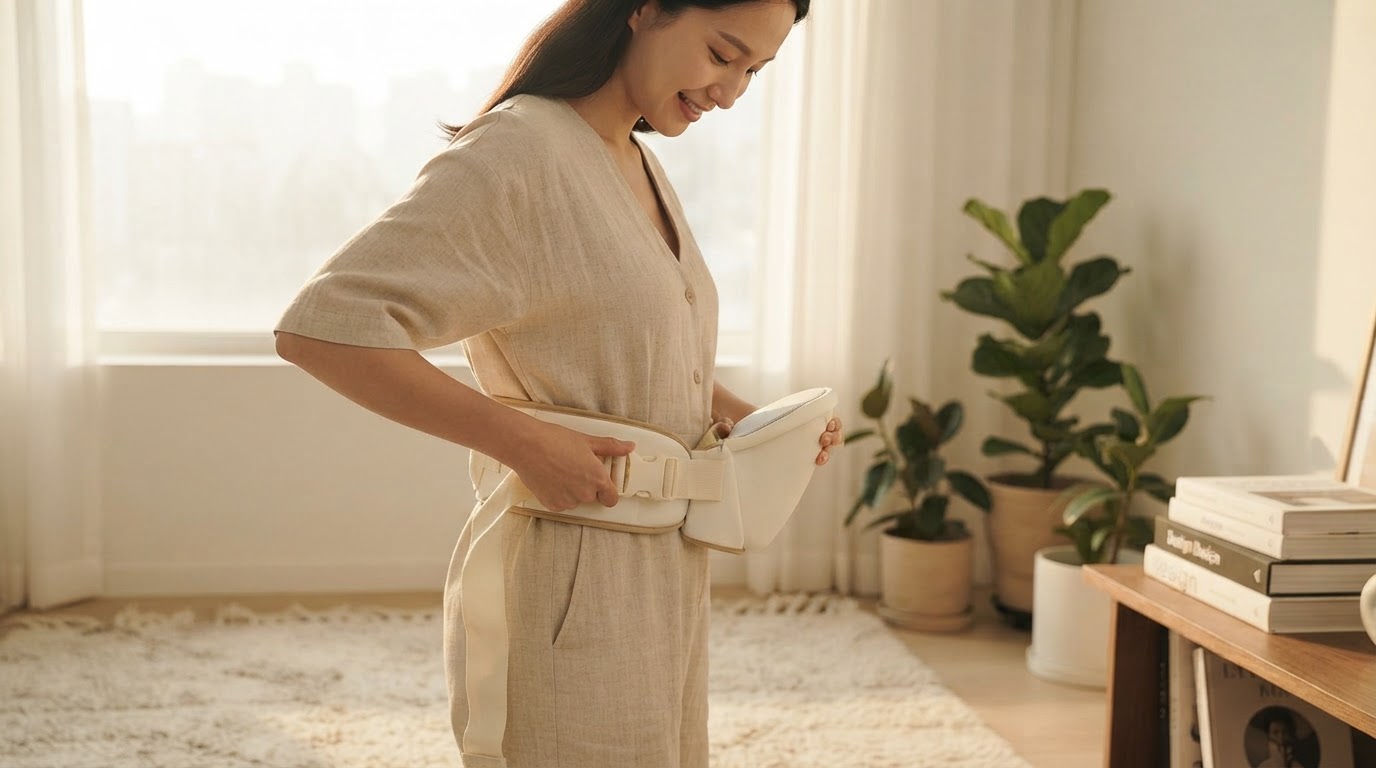
How to Properly Adjust Your Baby Carrier Waistband for Lumbar Support
Achieving ergonomic comfort while babywearing relies heavily on how you secure your waistband. Follow these steps to correctly adjust your waistband and protect your lower back from strain.
Step 1: Position the Waistband High and Parallel
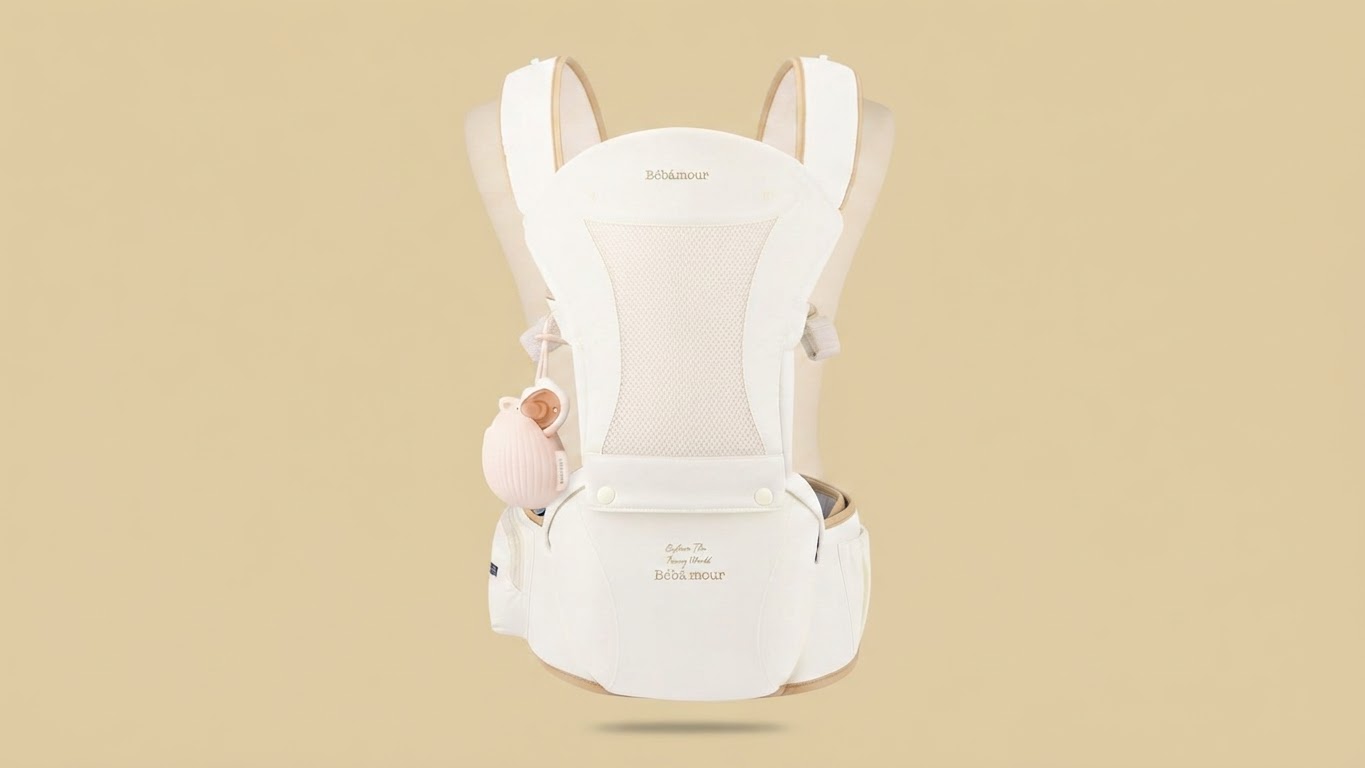
Place the waistband high around your natural waist rather than letting it sit loose below your hips. Make sure the belt is completely level around your body, avoiding any slanting that could cause uneven lumbar pressure.
Step 2: Attach Waistband Extender if Needed for Full Coverage
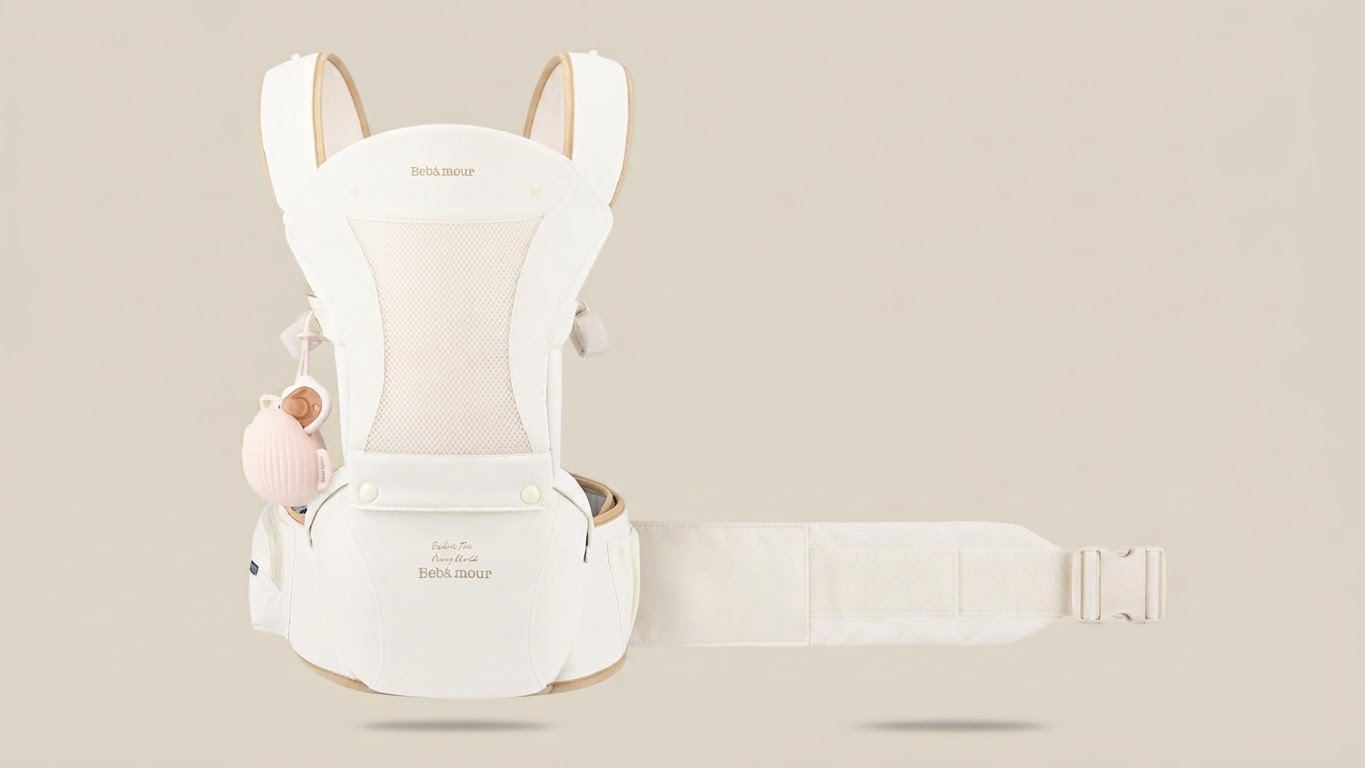
If the standard waist belt feels tight or restricts natural breathing, attach an extender to prevent painful pinching. The waistband on the Snug Baby Carrier adjusts from 65-118cm (25-46.5") and includes a 43cm (16 inch) extender, reaching a total of 161cm (63.39 inches). Full lumbar support requires a continuous wrap without awkward gaps.
Step 3: Tighten Belts Comfortably Around the Hips
Pull the adjustment straps evenly until the support pad rests snugly against your back. A firm fit ensures that the baby's weight rests primarily on your strong hip bones rather than hanging from your neck or shoulder muscles. Check [the main guide] for further details on posture adjustments.Step 4: Seat Baby Close and Check Weight Distribution
Place your baby inside the carrier, ensuring their rear rests deeply into the seat. Verify that the load feels centered over your core hips and does not pull your chest forward. Make sure your setup stays under the recommended max limit of 45 lbs for continuous comfort.Read the full guide: The Ultimate Guide on How to Relieve Back Pain From Babywearing